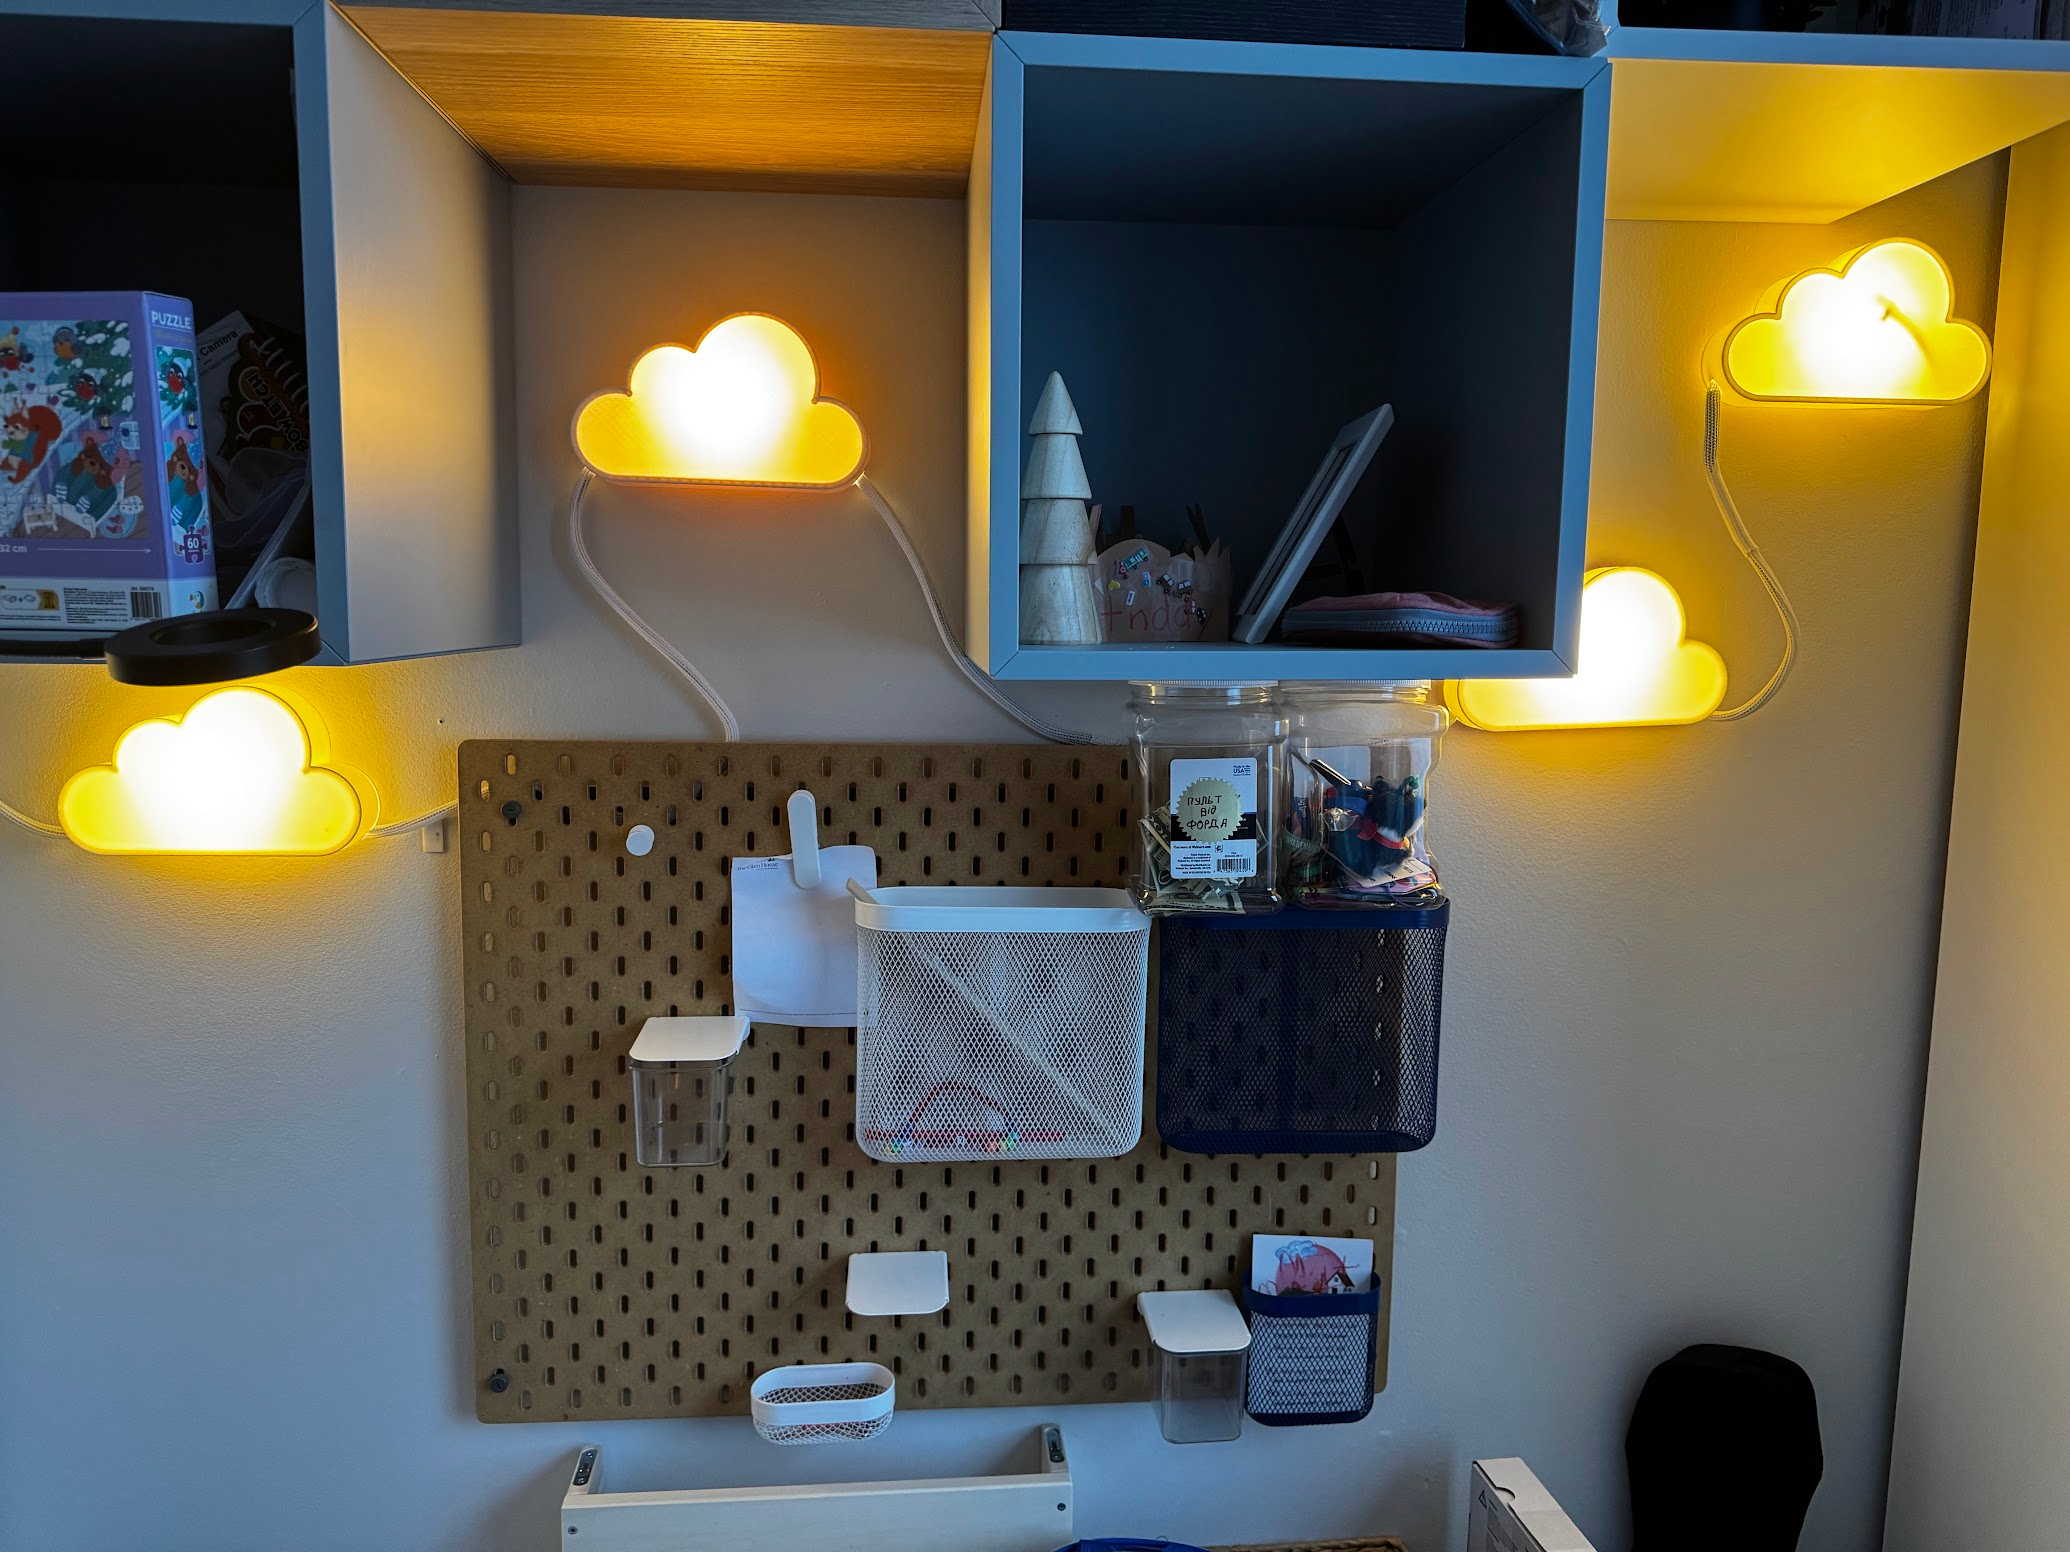
Made a daisy-chain connection of IKEA cloud lamps with my own hands.
Well, not exactly IKEA ones.
Preamble#
There’s this IKEA lamp called UPPLYST — a white cloud for children’s rooms. Relatively affordable, not too bright for a bedroom, and aesthetically pleasing.
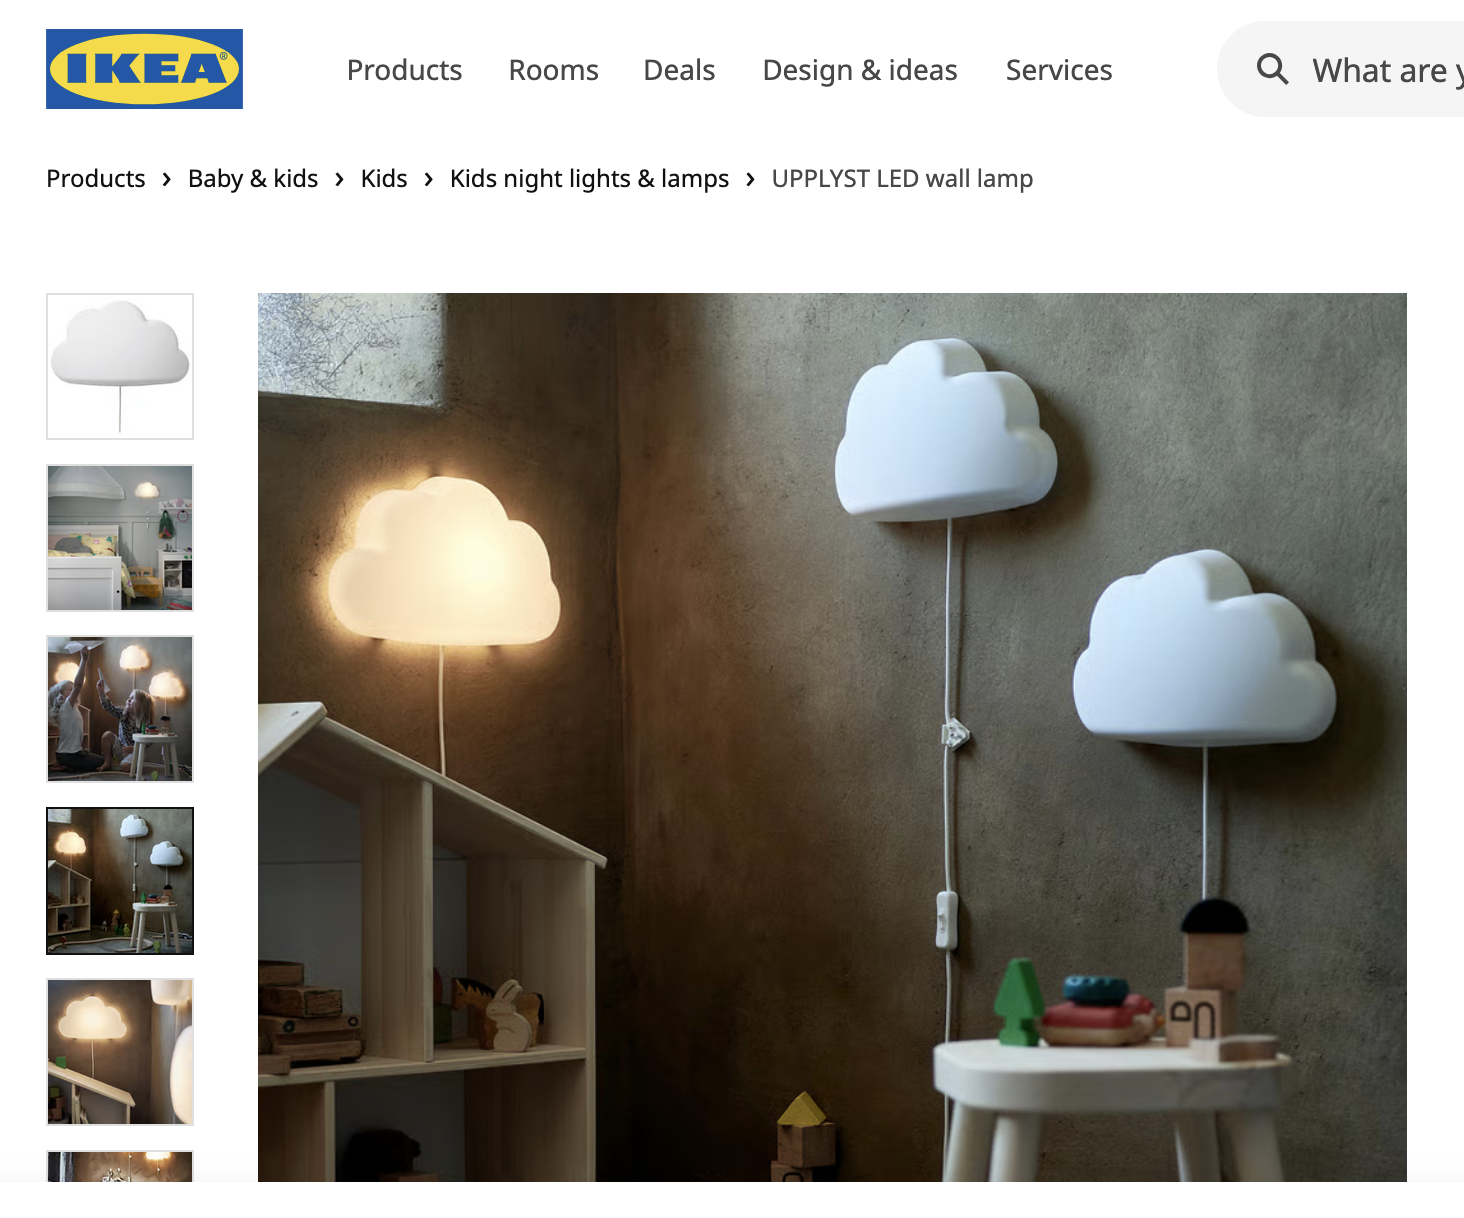
We bought a few of them for our kid’s bedroom, and that’s when an extra challenge appeared: for safety reasons, each lamp has a power supply that converts the 110 volts from the outlet to what seems like 20 volts to power the lamp. The idea being that if a child chews on the cord, the shock will be weaker. But that power brick is quite a chunky thing — it takes up space in the outlet and only powers one lamp. I started thinking about how to connect all of them so they turn on together, since individual control wasn’t something I needed. I googled around — the question exists, but answers don’t. My limited knowledge of low-voltage electronics was enough to figure out that if I solder on some kind of splitter and overload the brick, at best it just won’t turn on, and at worst it’ll overheat, catch fire, and all that fun stuff.
The Alternative#
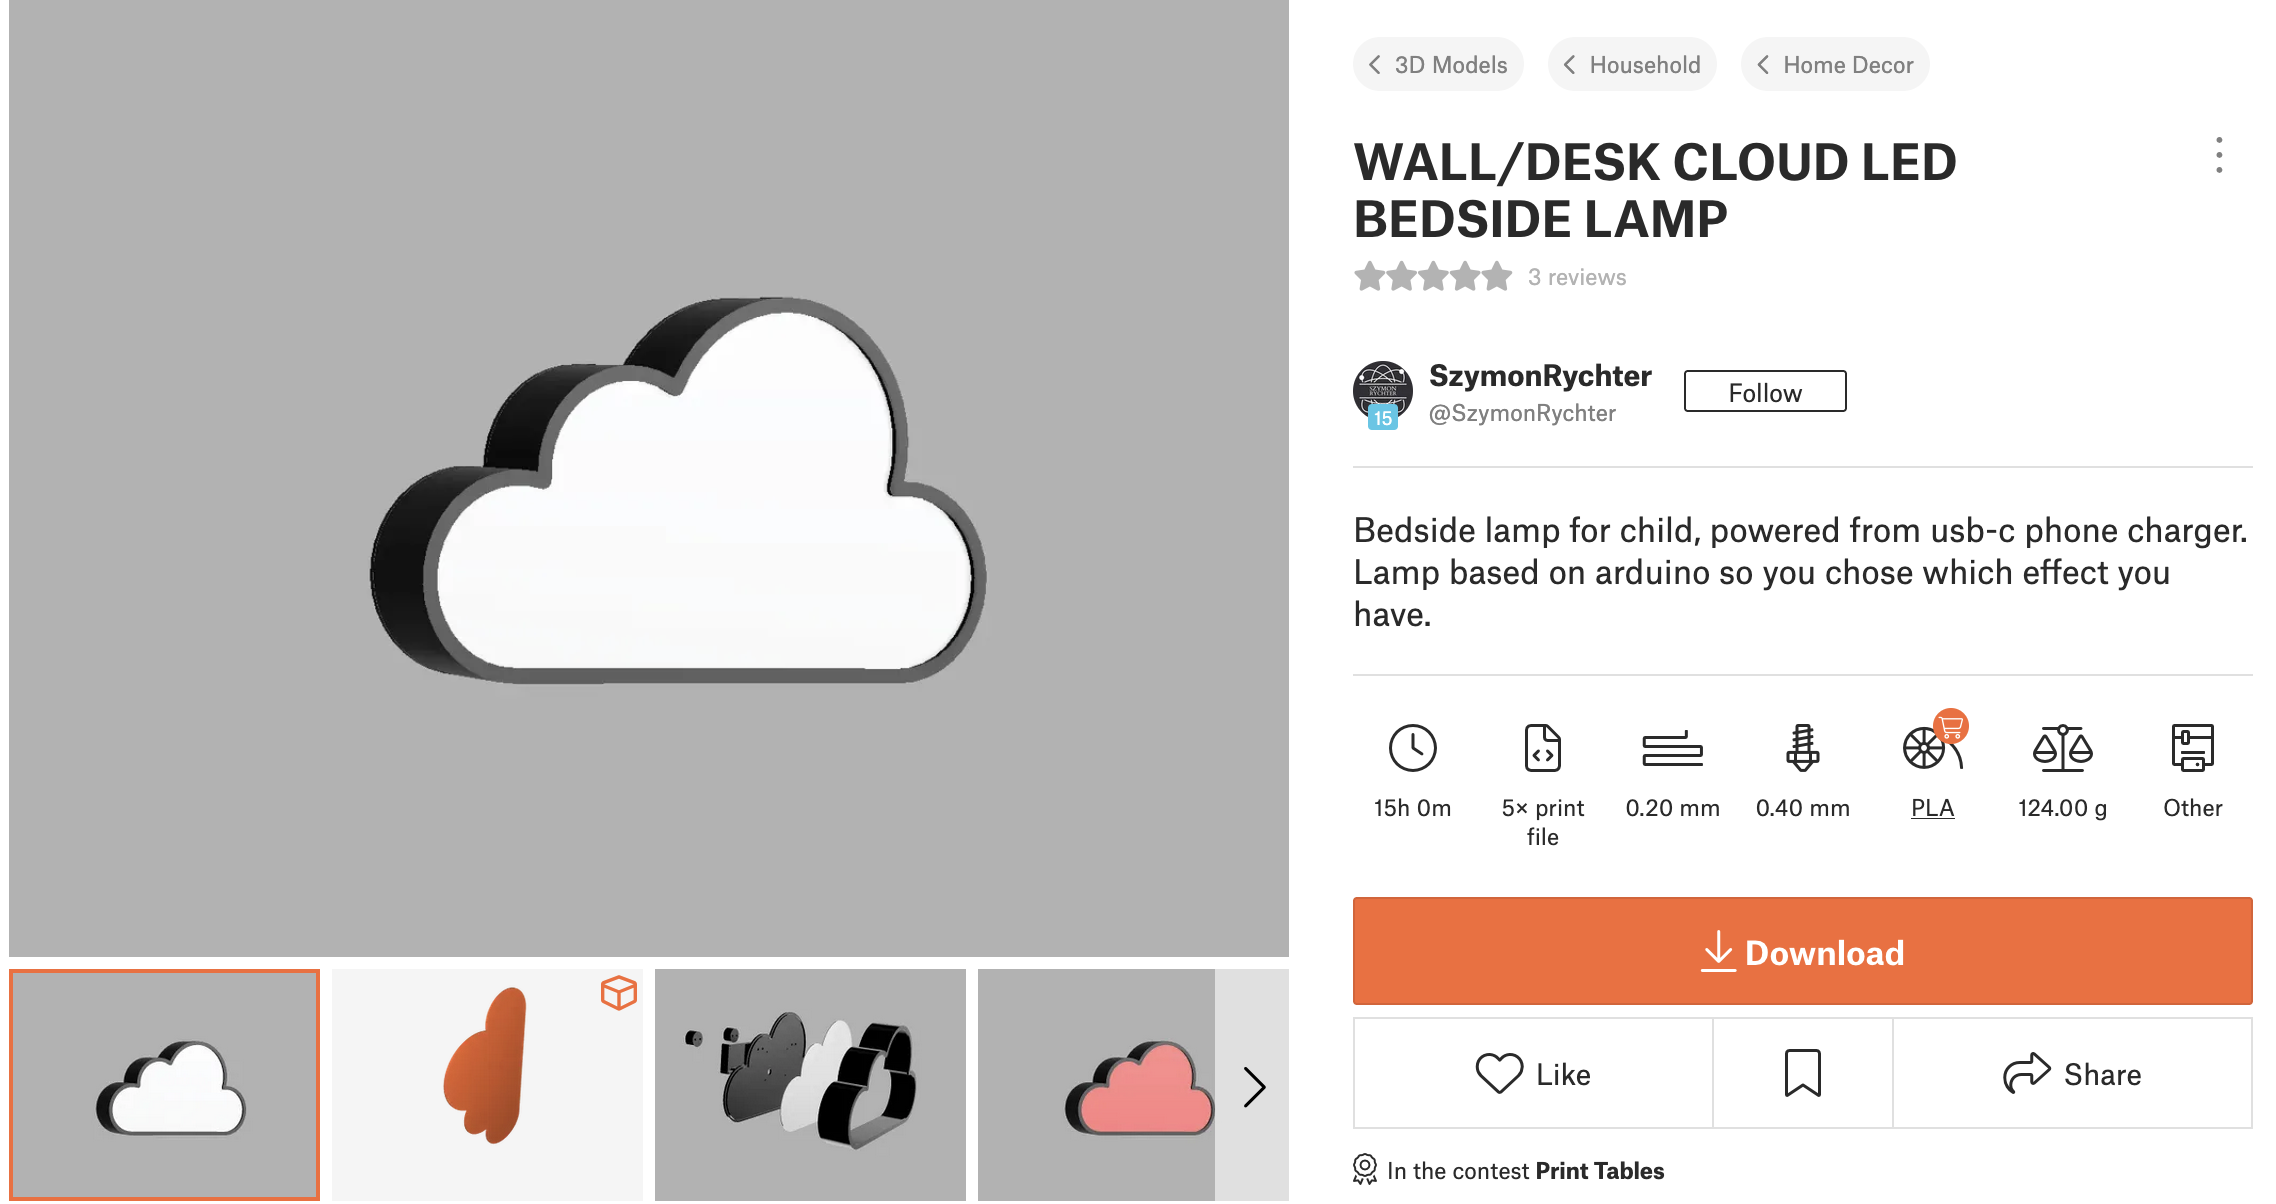
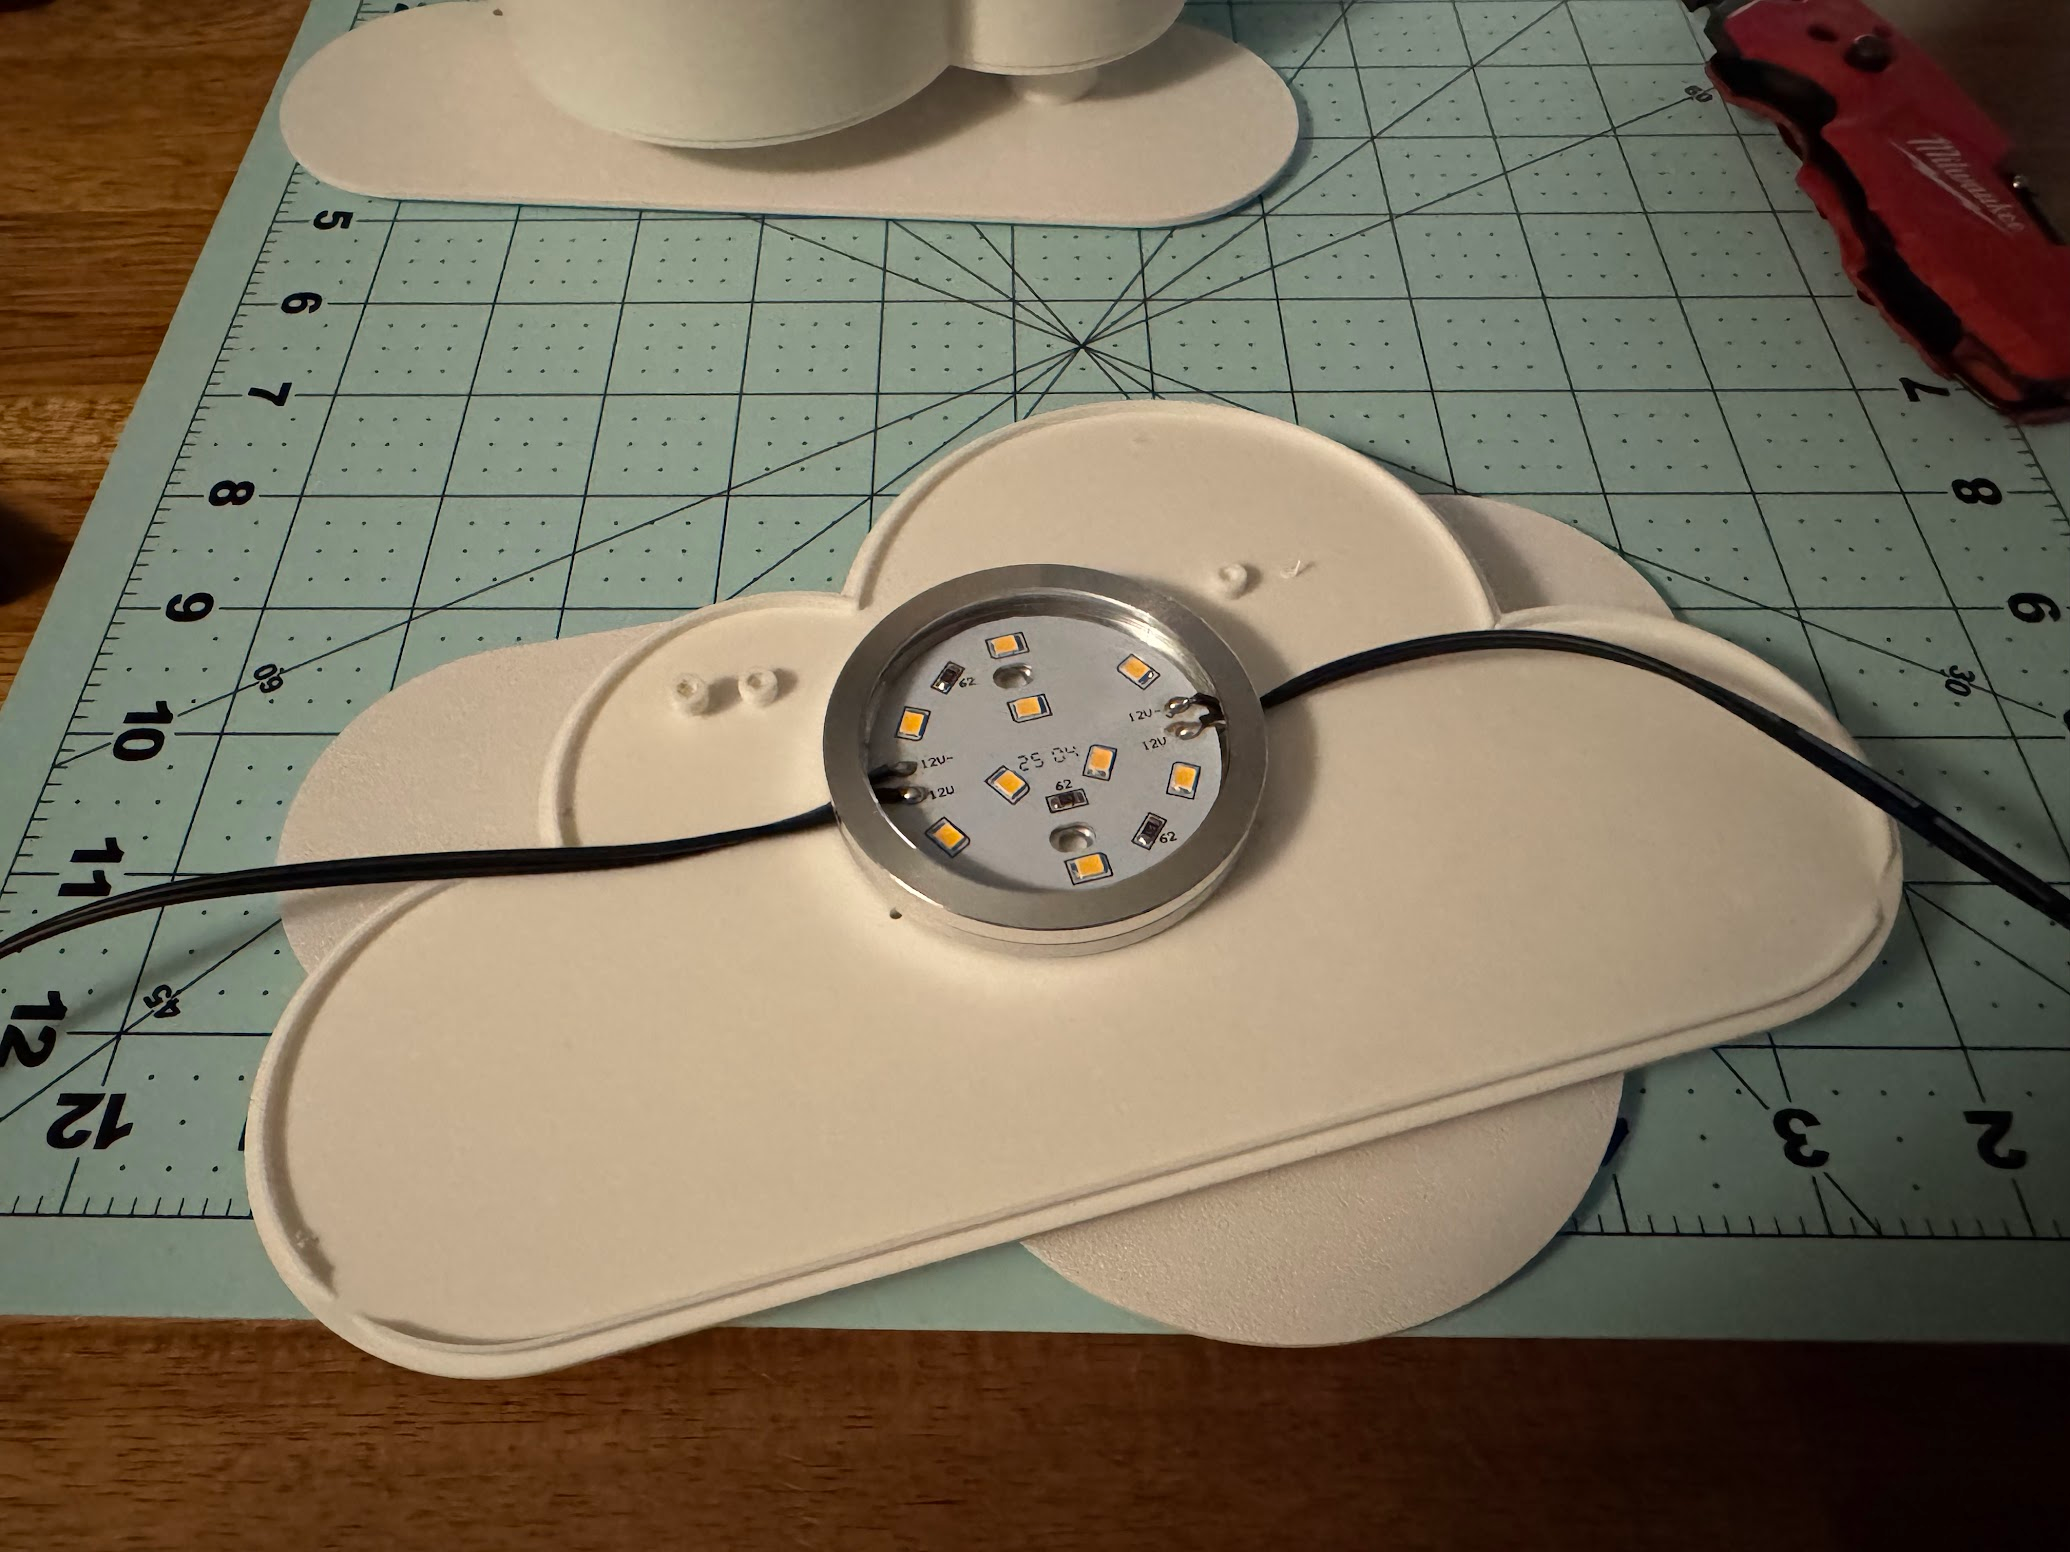
Some good people designed a 3D-printable model
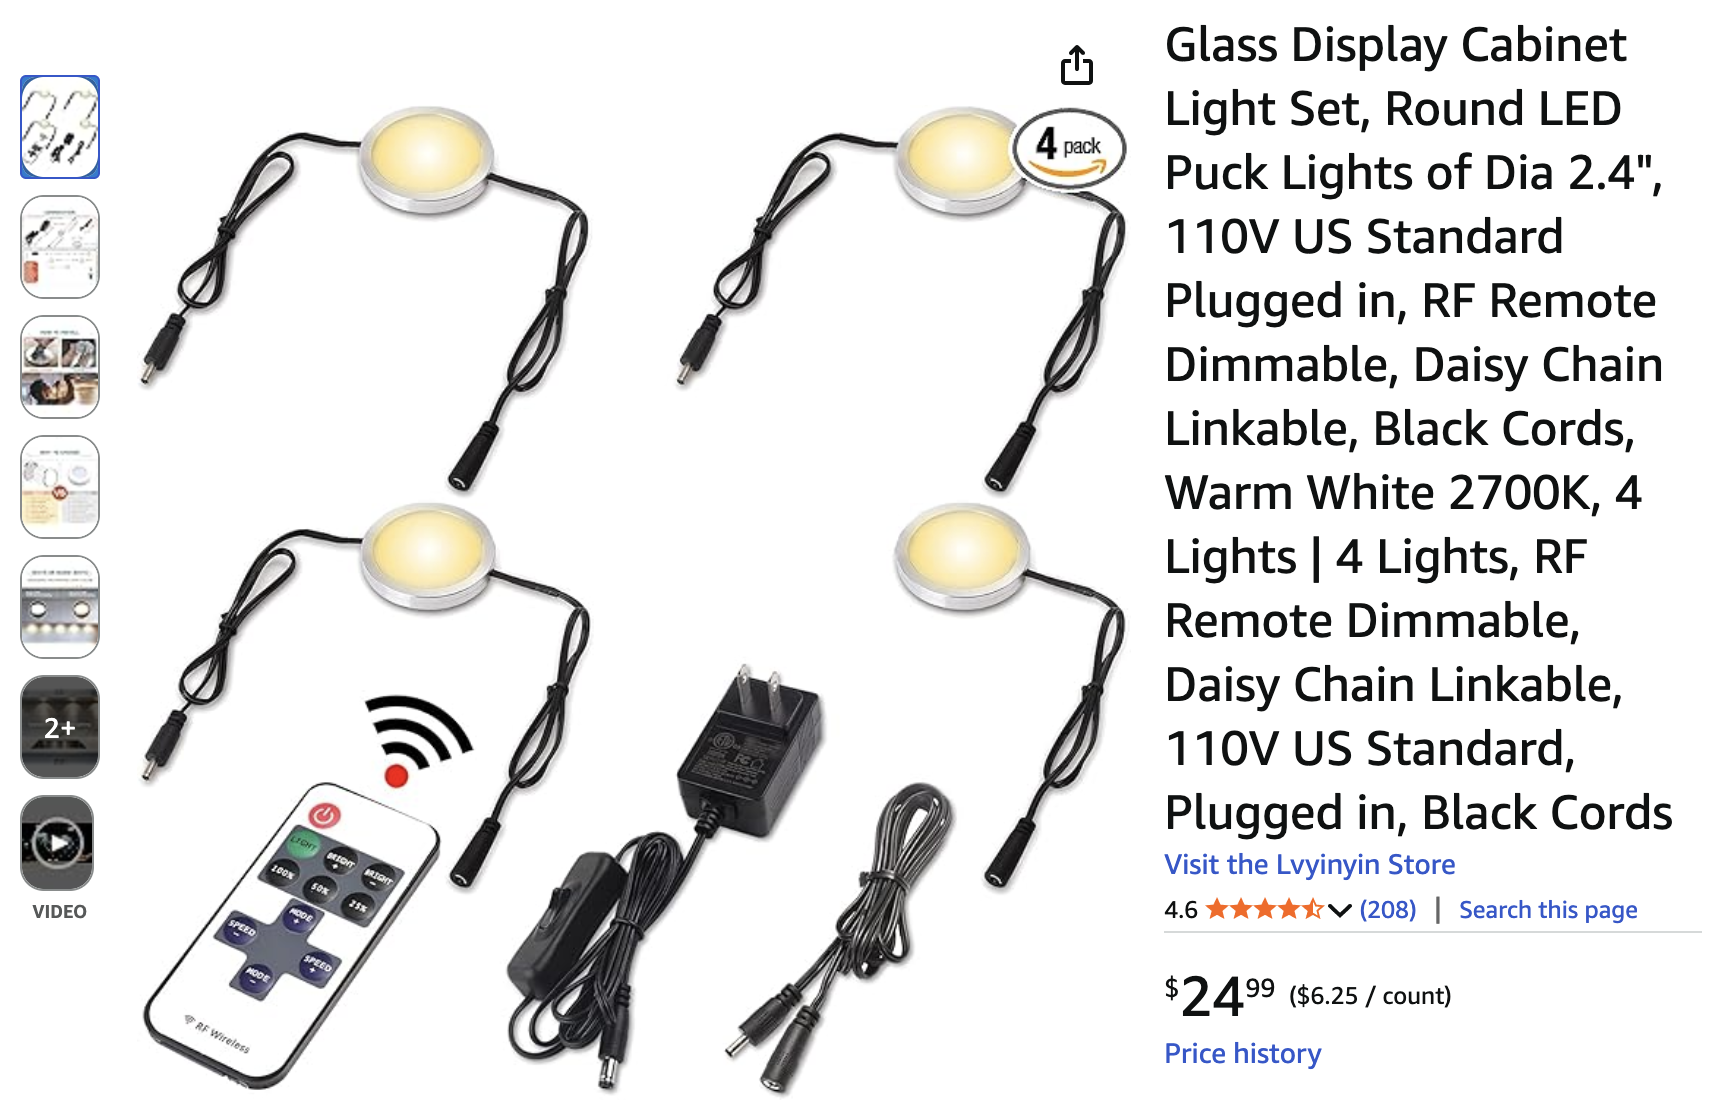
On Amazon I found something that would fit inside — daisy-chain cabinet lights, even with a remote control and brightness adjustment, 4 lights for the price of one IKEA lamp.
Production#
Over the course of a few weeks, with breaks, I printed those lamp housings. Along the way I made some small improvements to the model — originally it consisted of many parts, probably to allow the front panel and frame to be printed in different colors, but that would require gluing, so I merged them in the slicer to print as a single piece. I also added holes for bolts to attach the front panel to the back, which is why all 4 housings ended up being slightly different internally.
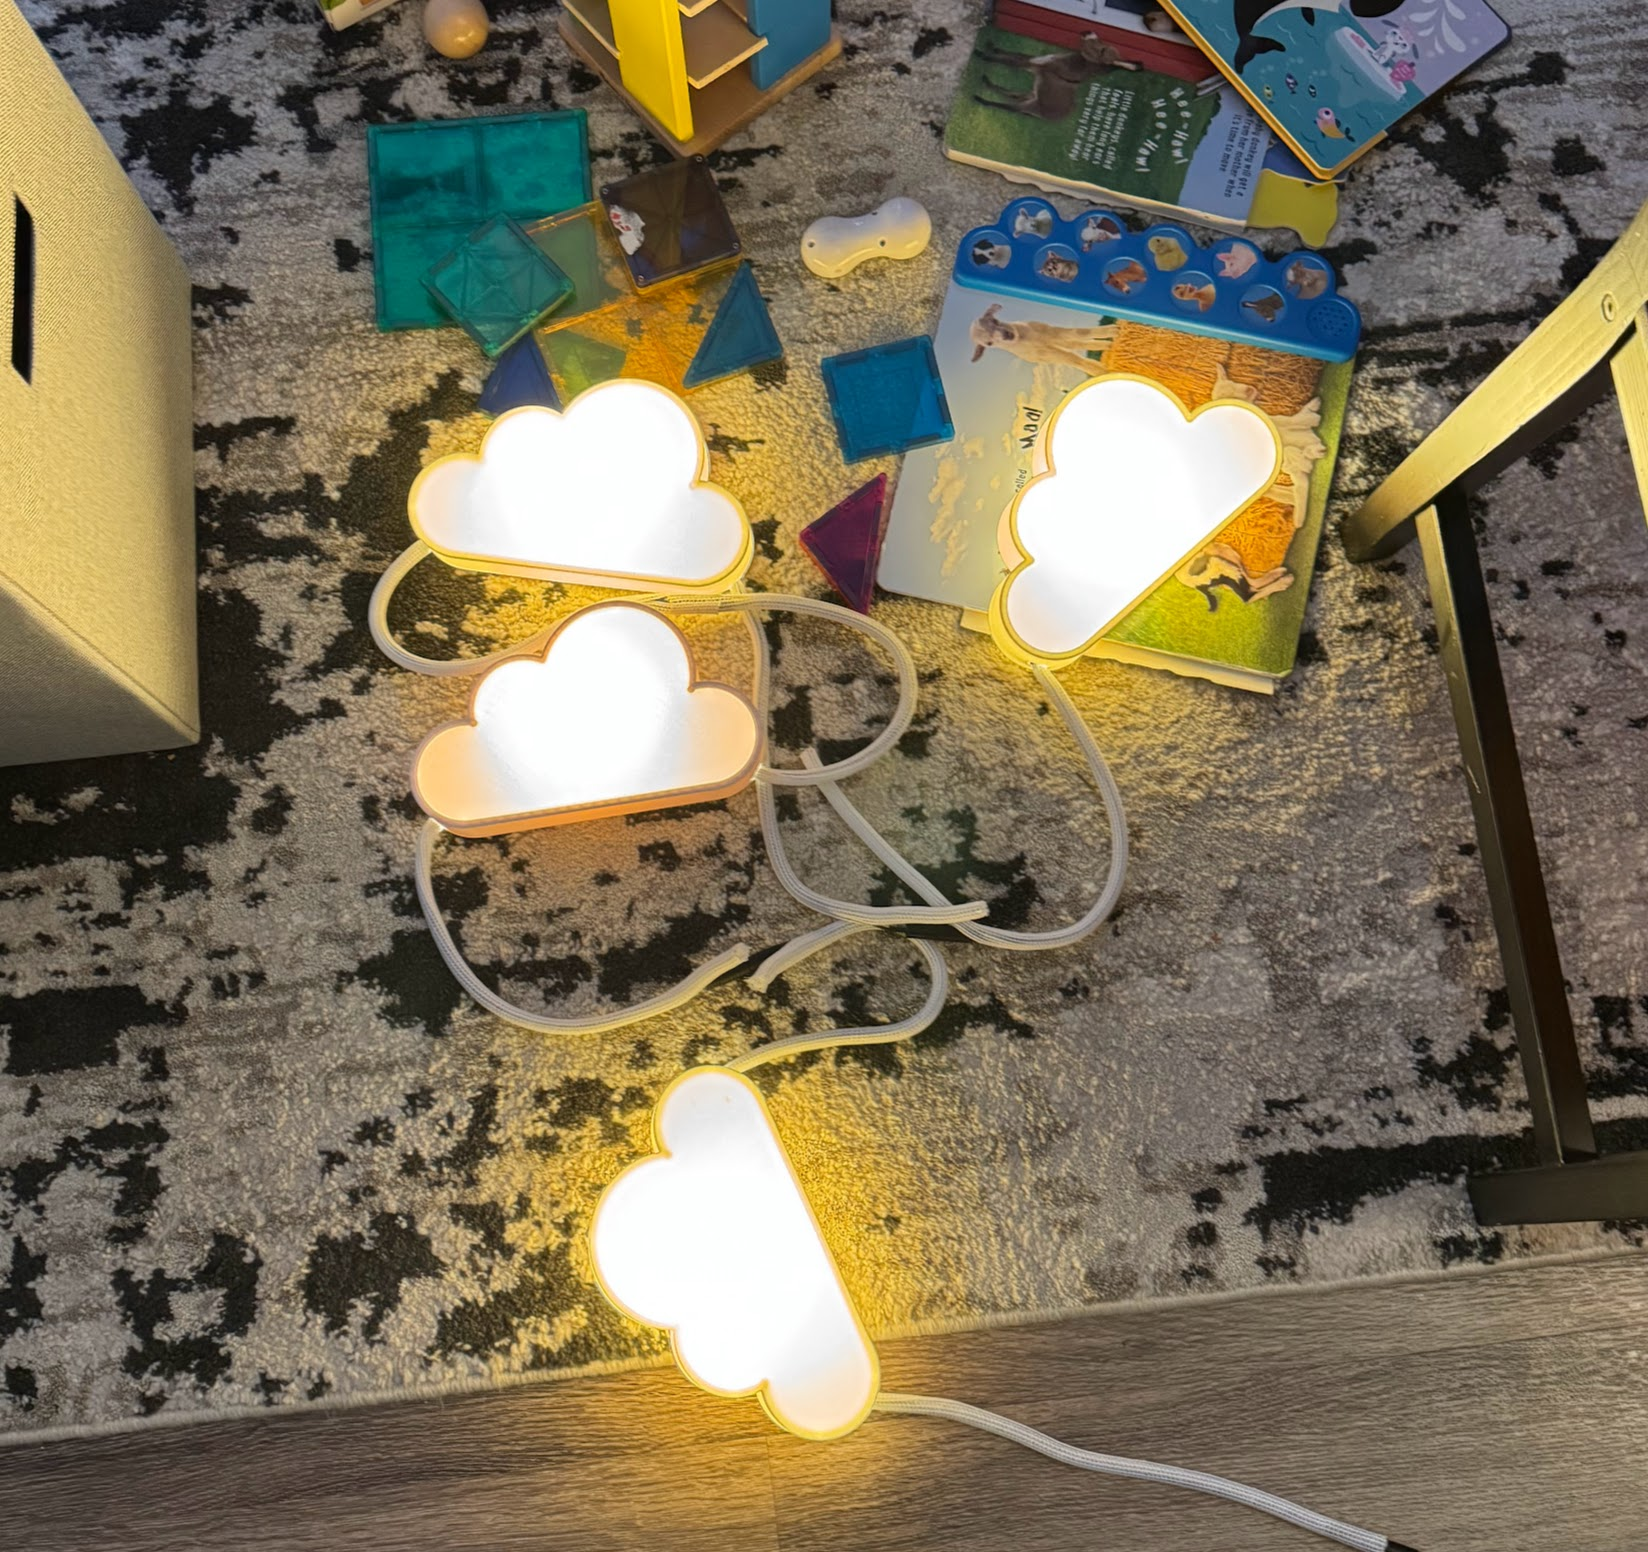
Result#